Introduction
In the digital age, protecting your intellectual property and maintaining the integrity of your documents is crucial. One effective method for achieving this is by adding watermarks. Whether you’re a business professional safeguarding confidential information or an artist wanting to protect your creations, watermarks serve as a simple yet powerful tool. In this blog post, we'll explore the various methods to add watermarks to your documents and why it’s beneficial to do so.
What Is a Watermark?
A watermark is a text or image that is superimposed onto a document, often in a semi-transparent manner, to indicate ownership or confidentiality. Traditionally used in paper documents, digital watermarks serve the same purpose in electronic files. They can be subtle, like a faint logo or text, or more pronounced, depending on the level of protection needed.
Why Add a Watermark?
- Protection of Intellectual Property: Watermarks can deter unauthorized use of your content. They mark your work as your own, which is particularly useful for photographers, designers, and writers.
- Confidentiality: Adding a watermark such as “Confidential” or “Draft” can help prevent the accidental sharing of sensitive information.
- Provide Meta-information: Adding a watermark to an invoice such as “Paid”, “Overdue”,...etc. can provide additional information regarding the document.
- Branding: For businesses, a watermark can reinforce brand identity and create a consistent image across documents.
- Proof of Ownership: In cases of disputes or legal concerns, a watermark can serve as evidence of ownership and originality.
Adding Watermarks In Pixel Perfect Reports
Adding watermark in Pixel Perfect Reports is straightforward. Moreover, Pixel Perfect Reports supports Overlay (where the watermark is placed on top of any element in the document) and, Underlay (where the watermark is placed underneath any element in the document) and other watermark functionality.
Steps to Add Watermarks In Pixel Perfect Reports
- Mouse Down on the Canvas so that the Property Pane on the right shows the report properties.
- In the Watermark Section, check the 'Has Watermark' checkbox.
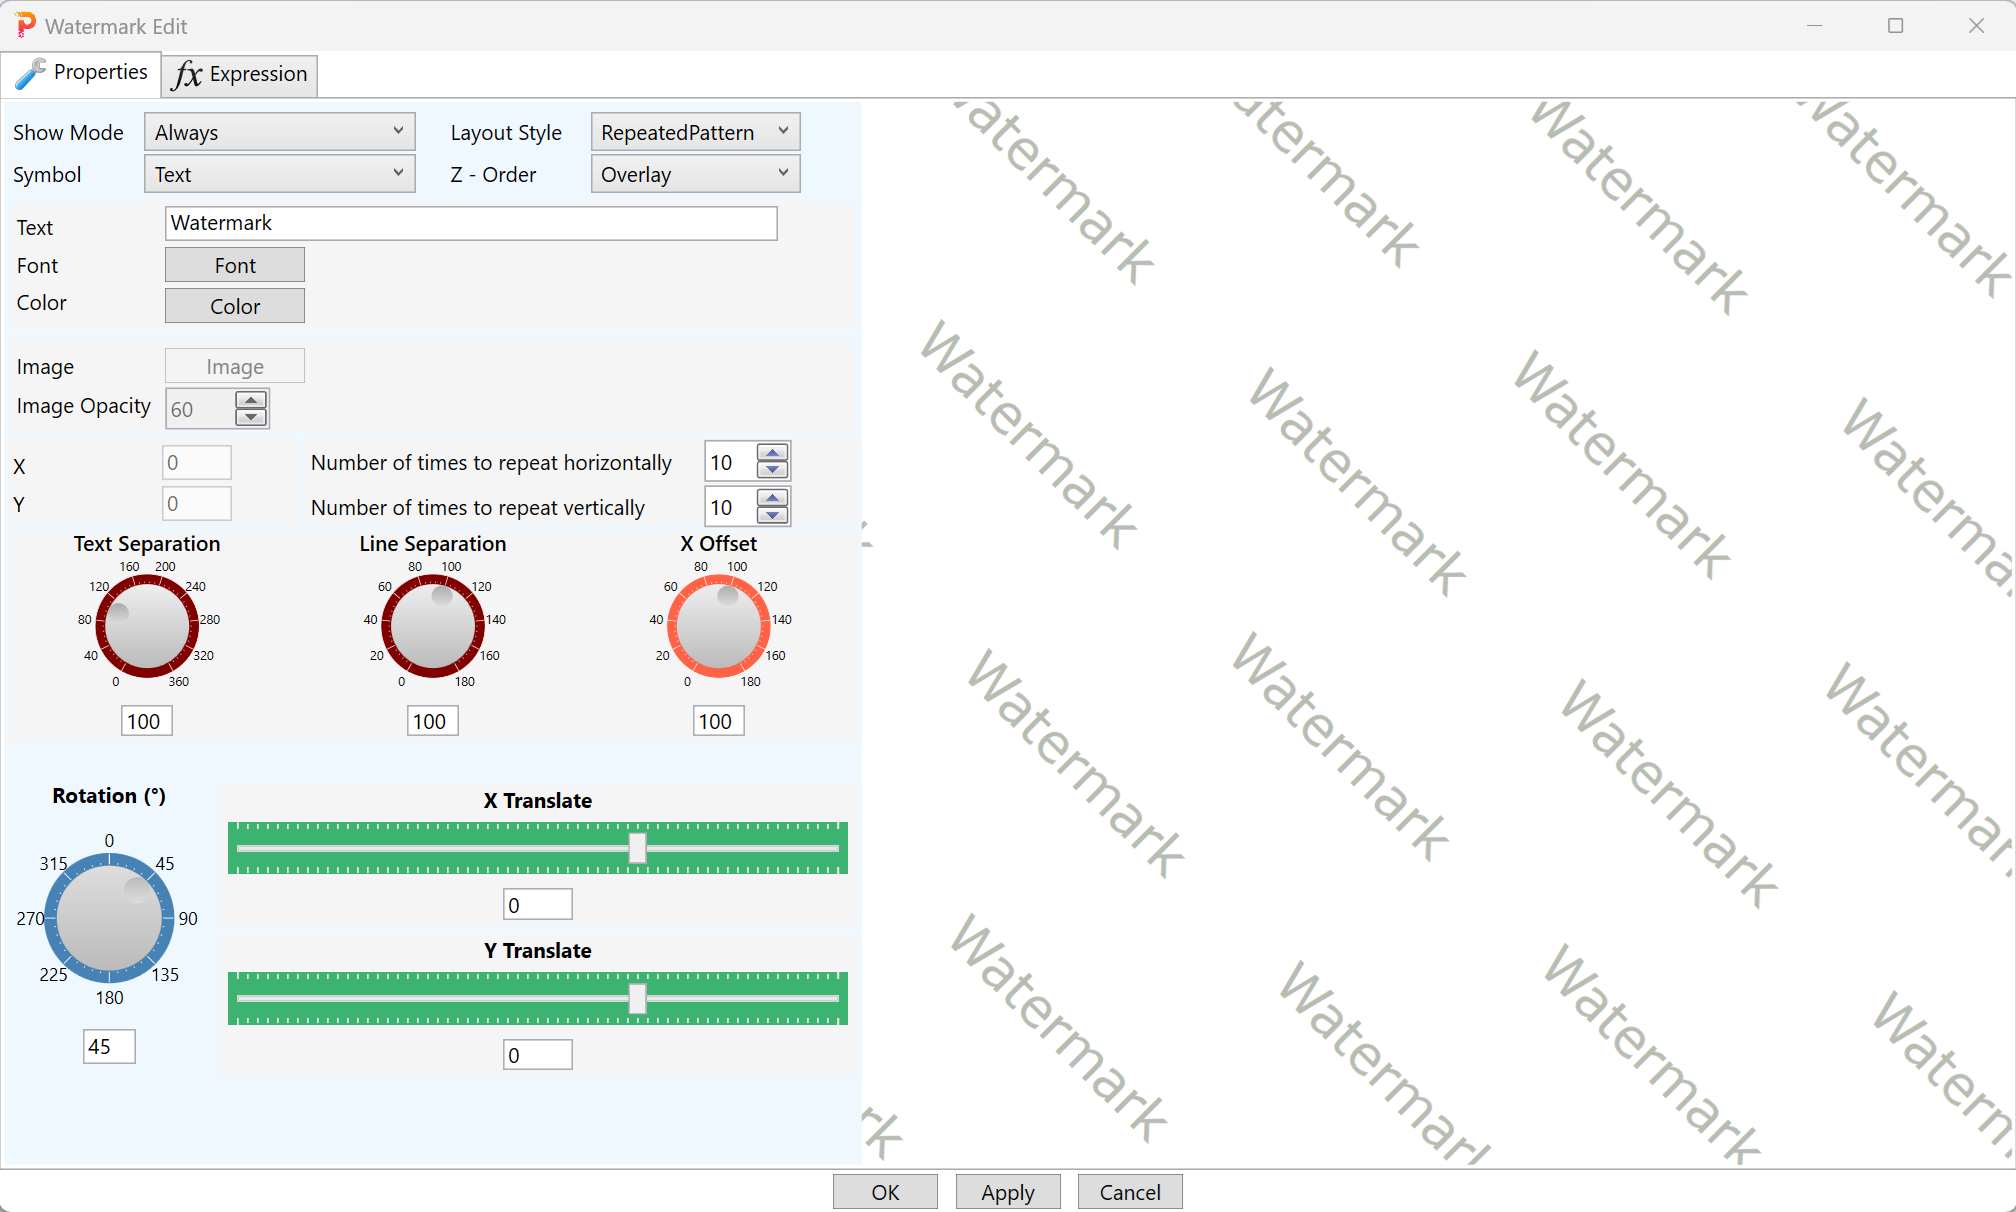
- Click the 'Watermark' button to bring up the 'Watermark Edit' dialog box.

- Set the watermark and its various display parameters.
Watermark Support from Other Reporting Tools
SSRS does not support watermark while Crystal Reports does support watermark. However the support of watermark by Crystal Reports is not as extensive as that of Pixel Perfect Reports.
Tips for Effective Watermarking
- Transparency: Make sure your watermark is visible but not so obtrusive that it detracts from the content.
- Positioning: Place the watermark where it’s less likely to be cropped or removed, usually in the center or diagonally.
- Consistency: Use the same watermark across documents for a cohesive look.
- Test: Always preview your document to ensure the watermark doesn’t interfere with readability or presentation.
Conclusion
Adding a watermark to your documents is a straightforward yet effective way to protect your content and assert ownership. In Pixel Perfect Reports, adding watermark is simple and there is extensive support of different layout scenario, such as overlay and underlay. By incorporating watermarks into your document management practices, you enhance security, provide meta-information of the document, prevent unauthorized use, and maintain your brand’s integrity. Give it a try and see how this small addition can make a big difference in safeguarding your work.